February 26, 2013

winter soup session: spicy grain and roasted root vegetable soup


I have long been an admirer of First Slice.  Mary Ellen Diaz, their founder,  left the restaurant world to start First Slice, a non profit organization who's goal is to ensure that needy and homeless people get "the first slice" of a pie, not the crumbs.  She funds her dream by selling subscriptions to family dinners.  For 10 weeks, at $78 a week, families come pick up 3 freshly prepared, then frozen meals for the week.  Included in the price is money to provide the same quality meal for homeless people at various shelters and soup kitchens in the Chicago area.  Her program is so inspiring.

I found this delicious, vegetarian and protein rich soup while researching grains.  Mary Ellen shared it with Food and Wine, saying that it is one of the more popular soups at the shelters.  I tinkered with it slightly, roasting the vegetables before adding them to the chile broth.  One of my soup session friends, Heather, planned to add shredded roast chicken to it.  Topped with crumbled tortilla chips, it would resemble a tortilla soup closely.

Follow Me on Pinterest

February 12, 2013

winter soup session: beef borscht


It did not escape my observation that "beef borscht" was the hardest class to fill in my soup series this winter.  I guess I get it:  beets are not loved by everyone nor does the name really grab you.  Just say "borscht", it does not immediately inspire appetite.  Regardless, I was so excited to start sampling recipes and finding the perfect combination: beets, braised meat, vinegar, red cabbage and orange zest!

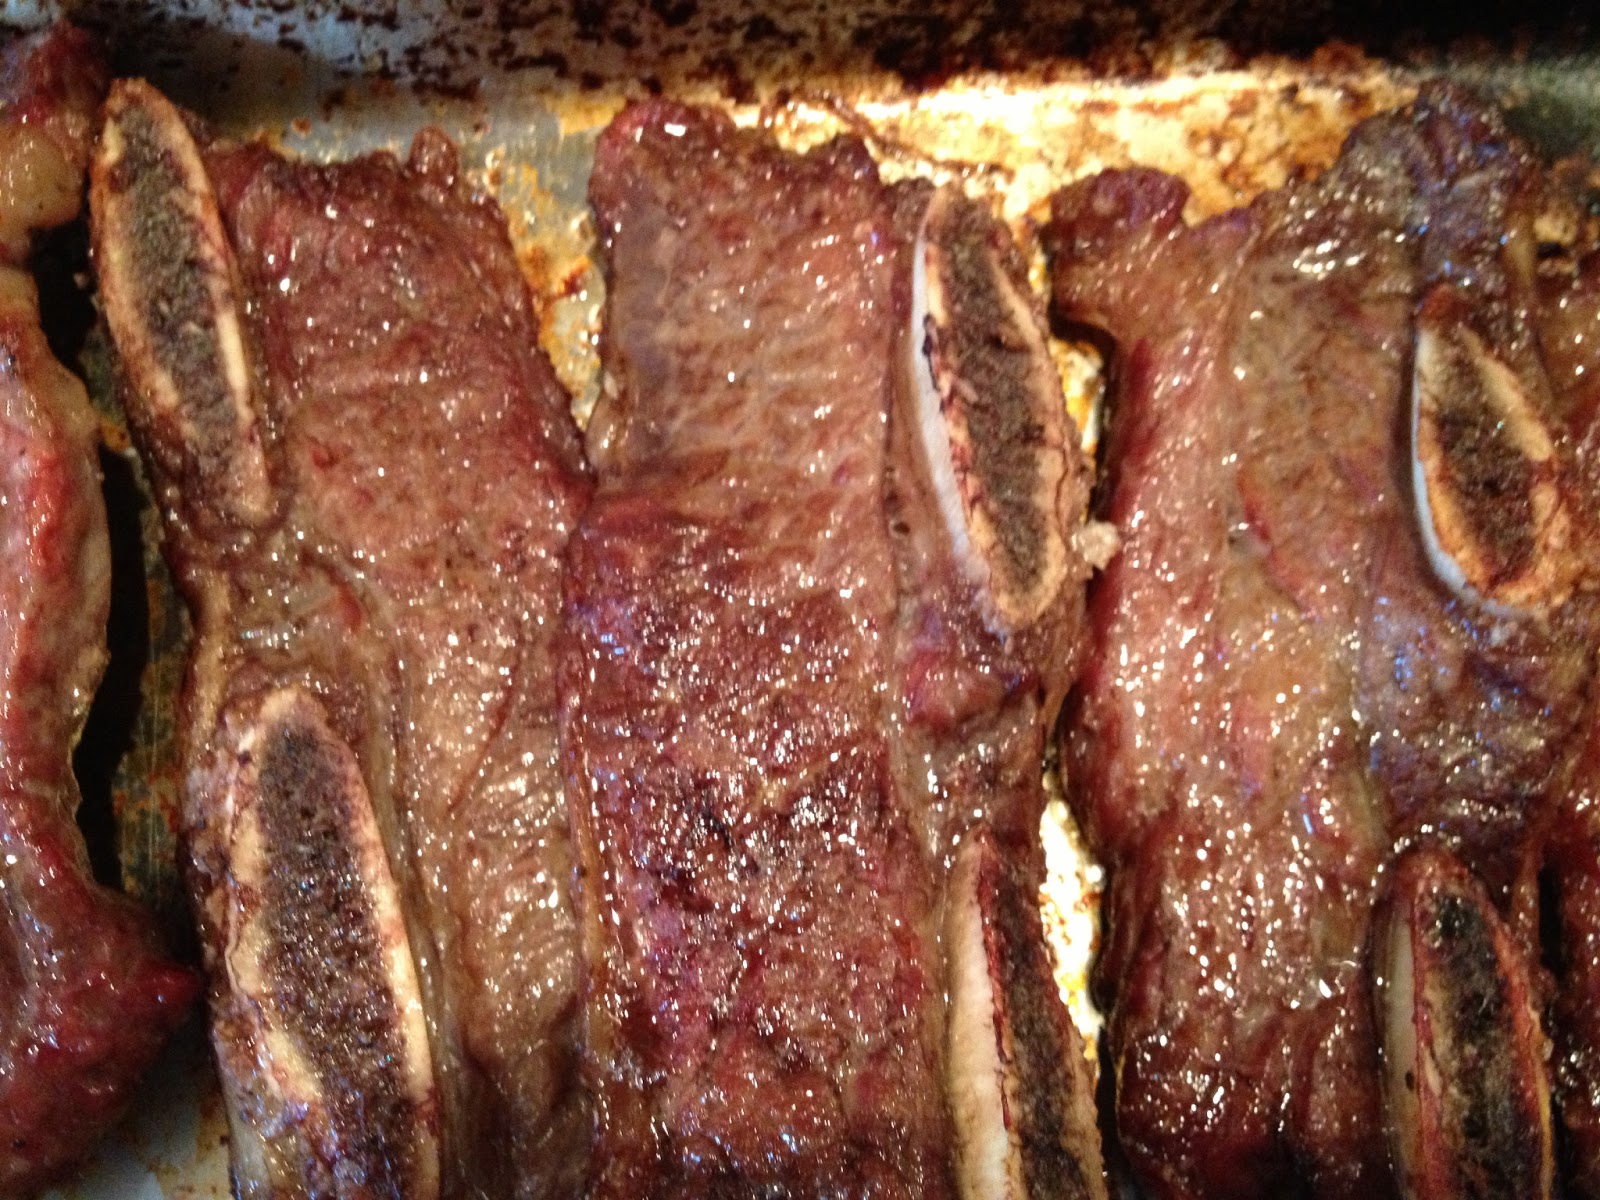
After mixing many recipes, I have come up with a nice blend.  When I first made the recipe, I seared and then cooked the short ribs in a stock pot with carrots, celery, fennel, onion, making a little stock that I then used as the broth for the soup.   Today at Family Table cooking, we shredded beef brisket that I had made in my crock pot the night before, and then used the cooking liquid for the soup broth as well.  Borscht is a great vehicle for leftover meat.


Follow Me on Pinterest

February 05, 2013

winter soup session: lentil


There are so many different recipes for lentil soup: some are pureed, some are chunky, some are yellow, some are red, some have orange zest and ginger, some have sausage, some have vinegar.  I inherited my go to lentil soup recipe from my friend Sarah who had served it to my daughter for dinner.  It comes, adapted from the blog "vicious ange", from Bill Granger's "Sydney Food" and it is delicious: hearty, vegetarian, with a bit of a kick from the chiles de arbol.

Here are the pots from this week's Family Table cooking.  We were a symphony in red, a true advertisement for Le Creuset's cherry line.


As you can see from the picture, it is a thick soup.  If you like more of a brothy soup, just increase the amount of stock or water that you use.

Lentil Soup by The Family Table


Lentils were recently called one of the five healthiest foods by Health Magazine.  After soybeans and hemp, lentils have the most protein of any legumes or nuts.  When eaten with rice, lentils are a complete protein (contains all nine of the essential amino acids necessary for a human's diet).  They are also have a good fiber content, good iron, folic acid and vitamin D.   My preferred lentil is the green lentils de Puy, mostly because they keep their shape so nicely in a soup or for a lentil salad. 


How to cook lentils:
  • Rinse the lentils, until the water runs clear, then put them in a pot
  • Top them with water, covering by a couple inches.  Salt.
  • Bring to a boil.
  • Turn the heat down to a simmer, cover the pot.
  • Cook until it is to your liking.  This usually takes about 20 minutes. Test it, it is done when it is soft.
  • Drain the excess water out. 

I love tossing my warm lentils with a simple mustard vinaigrette, maybe adding in some diced red onions and eating for lunch. It is also a great bed for a seared filet of salmon. Or, cool them down, keep them in freezer bags in your freezer until you have a lentil hankering. They are a great way to get some protein into a simple green salad.

We also made Cauliflower Flatbread to go along with our soup:

 
Roasted cauliflower is one of my family's favorite vegetable.  I just cut the cauliflower into smaller florets, toss it in olive oil, salt and pepper and then bake on a pyrex glass dish at about 400 degrees for 30 minutes or so.  The cauliflower gets all brown and caramelized.


If it is not all eaten the moment it comes out of the oven, use this recipe from Mark Bittman for a nice side, or as a yummy appetizer. Follow Me on Pinterest

January 29, 2013

winter soup session: chicken, sweet potato and barley soup


You might have noticed me wax on about barley in my last winter session posting on December 4th.  I love that short rib, mushroom barley soup but this one is a close second, and much faster and easier especially if you have some leftover cooked chicken hanging out in your refridgerator.

The original recipe, adapted from Melissa Clark from the New York Times, labeled it as "spicy".  I do not feel the heat (although you certainly could increase the chili powder) but I really appreciate the warmer spices melding together, especially with the coconut milk pulling it all together.


The next time I make this soup, I will add the spinach in at the very end so it retains its color and nutrients a bit more.

Follow Me on Pinterest

January 08, 2013

in the garden...sage and green tomatoes


We had a plethora of sage this late fall.  With two cuisinarts going, making 40 batches of sage pesto was fairly fast.  We put them into kerr canning jars, half pint size.  They are great as gifts or can be frozen until needed.  I wish I had had some ice cube trays as I would have loved to have had sage pesto ice cubes to pop into soups or stews or on pasta.  The sage pesto is fantastic on top of cheese on a toast, or mixed in with roasted vegetables.  After wondering what to do with so much sage this year, I will never question it again.


Green tomatoes over running your garden?  Of course fried green tomatoes are a must: simply slice the tomatoes about half an inch thick, then coat them on both sides with cornmeal.  Heat up some olive oil (or bacon fat if you are feeling super indulgent) and then saute them over medium high heat until both sides are brown and they soften.  Salt and pepper them, eat immediately.

Green tomato pickles or green tomato chutney are some more ideas to "put up" with your abundance.  They are great alongside a cheese display, or with a simple sandwich, or a beef brisket panini sandwich, or a grilled fontina and spinach quesadilla.


Follow Me on Pinterest

December 04, 2012

fall session: barley


Barley is a whole grain high in fiber and high in protein.  Barley can help reduce the risk of heart disease, type 2 diabetes and colon cancer.  It also helps to lower cholesterol.  Typically barley is seen in soups, but as grains's health benefits are broadcast and people get more comfortable with their versatility, barley salad recipes are becoming more common.

How to cook Barley:
  • Rinse the barley until the water runs clear. 
  • If you soak the barley for a few hours or overnight, it will speed up the cooking time.
  • Put the drained barley in a pot, cover with water, covering by a couple inches.  Salt.
  • Bring to a boil.
  • Turn the heat down to a simmer. 
  • Cook until it is to your liking.  This usually takes about 15-20 minutes if you pre-soaked the grain or more like 40 minutes if it was not pre-soaked.
  • Drain the excess water out.
In Family Table cooking we made a lovely Pearled Barley Salad with Apples, Pomegranates and Pine Nuts.  It is a nice recipe, best when eaten soon so the apples don't get mushy.


But our main dish was the delicious barley soup, made with beef short ribs, wild and button mushrooms and other wintery vegetables.


Following are the recipes for two barley soups: the first, the hearty short rib, barley and mushroom soup pictured above.  The second, is a creamy chicken, vegetable and herb soup that is simple and yet so good.  Quick to prepare, it does not need as much cooking time as the more substantial short rib soup.  Enjoy them both:


Follow Me on Pinterest

November 13, 2012

fall session: bulgur


If any grain seems "hippy-ish" to me, it is bulgur.  Before my grain series I had dabbled in some but NEVER cooked bulgur.  I am happy to report, bulgur is really very tasty and an easy way to get some protein and fiber in your diet.


Bulgur closely resembles couscous.  However, bulgur is the product of wheat kernels that have been boiled, dried, and crushed while couscous is made from rolling moistened coarsely ground semolina wheat into small balls, which are later coated with a finely ground wheat flour.  Bulgur is healthier than couscous as it has 4 times the fiber and has lower calorie and carbohydrate counts. 

Bulgur comes in several grades of coarseness: fine bulgur for more delicate salads, coarser bulgur for stews and soups.   Since bulgur does not take too long to cook, many recipes have you add it into the dish to cook.  If you are making a salad from it, here is an easy way to cook it.

How to Steam Bulgur:
  • Put 2 Cups water in a pot with a generous pinch of salt.
  • Bring to a boil.
  • Add 1 Cup bulgur, stir, remove from heat, cover and let sit for 20 minutes.  
This works for medium bulgur, so if using a fine grade, let sit for less time.  You can always drain off any excess water.  

We made a delicious kale tabbouleh:

Then we cooked a Chicken, Chickpea, Apricot and Bulgur Tagine, inspired by Mark Bittman.  This is a great weekday entree as it takes under an hour to prepare: you sautee the chicken, deglaze the pan, add all the other ingredients and then let simmer for about 30-40 minutes.  I added carrots and fennel to the recipe.


NEED A FINISHED PICTURE HERE

Here are a couple more bulgur recipes, untested, that I hope to try soon:

An eggplant, lentil and bulgur salad


A bulgur recipe from my favorite blog 101cookbooks.  This would make a great salad for a holiday lunch buffet, so colorful.

Follow Me on Pinterest

October 30, 2012

fall session: farro


Farro was our second focus in The Family Table grain series.  Farro dates way back to pre-Roman times (farro grains have been found in Pharoah's tombs) where it was a major food staple.  Farro has a similar flavor to brown rice, but has a nuttier taste.  It has a very low gluten content and can often be eaten by those with a gluten intolerance (although after making a yummy farro risotto for a gluten free friend, I found out it is not totally gluten free, sorry Tracy).  Farro is rich in fiber, magnesium and vitamins A, B, C and E. 

Farro is very easy to prepare:
If you think of it, soak the farro in water over night.  This will give you a head start on the cooking process, although it is not crucial.   Put the drained (or dry if you did not soak) farro in a pot and cover by a couple of inches with water and a good pinch of kosher salt.  Bring to a boil.  Lower the heat to a simmer and put the top on, stirring occasionally.  Non soaked farro takes about 30 minutes for an al dente taste.  If you soak it first, plan to cook it about 20 minutes.  Drain the farro and stop the cooking process by putting it under cold water until cooled.  It is ready to pop into a green salad, or use it for many farro salad recipes. 

In class, we made a farro "soup" with red wine, chicken sausage and mushrooms.  It was very hearty and when I swirled in truffle oil before serving, it made a very rich and lovely meal for a winter evening.  Please enjoy the soup and some other recipes I recommend:


This is really delicious.  Perfect to accompany a simple seared or grilled filet of fish.


This is a nice hearty vegetarian meal.  Easy to make a big pot of and freeze the unused part.  I like to freeze my soups and stew in ziploc freezer bags labeled with the name and freezing date.  I am looking into freezing things in quart wide mouthed canning jars.  Thinking that is an improvement as it elminates the plastic component and makes for easy defrosting in a hot water bath.  Often when I defrost ziploc bags in warm water, I spring a leak.  Let me know if anyone has any tips on can freezing.

Additionally, following please find some farro recipes that I have not yet tried but am hoping to soon.  Let me know what you think if you get inspired to try them out.

Farro and herbs salad, a lunch salad or good with maybe seared salmon or chicken:
http://www.101cookbooks.com/archives/farro-herbs-recipe.html

A crisp, nice salad:
http://honestfare.com/bean-farro-salad-with-cilantro-apple-dressing/


And lastly, before i lose your attention:
http://www.vegetariantimes.com/recipe/warm-farro-pilaf-with-dried-cranberries/

A great article on farro, including a very good risotto recipe.  I added some shredded chicken thighs, mushrooms and spinach to my farrotto and topped with some cheese and truffle oil, it was delicious:
http://www.theatlantic.com/health/archive/2011/01/fresh-recipes-with-an-ancient-grain-4-ways-to-prepare-farro/69313/


Follow Me on Pinterest

October 23, 2012

fall session: quinoa


The Family Table's fall season has started!  
(We always start with a breakfast treat and a cup of coffee.  These are quinoa carrot muffins.)

The focus of this session is grains: quinoa, farro, bulgar and barley specifically.  Last week, I gathered with five others to talk, chop, saute and share, while focusing on the taste and versatility of quinoa. Quinoa is a complete protein.  Excellent for vegetarian diets looking to maximize protein in their diets.  Quinoa actually dates back some 3-4,000 years to the Andes mountains.  It is high in amino acids, calcium, iron, magnesium and fiber.  It comes in white, red, black and rainbow.

How to Boil Quinoa:
  • Rinse the quinoa, then put it in a pot (if you buy "pre-rinsed quinoa you can skip the rinsing step)
  • Top the quinoa with water, covering by a couple inches.  Salt.
  • Bring to a boil.
  • Turn the heat down to a simmer, cover the pot.
  • Cook until it is to your liking.  This usually takes about 20-25 minutes, you will see the "curlicue" emmerge from the grain.  Test it, it is done when it is soft.
  • Drain the excess water out.
At this point you can use your quinoa for salad recipes, or as a side.  Mark Bittman suggests some great mix-ins in "The Food Matters Cookbook": olive oil, butter, any flavor pestos, fresh chopped herbs, dried fruits, sauteed mushrooms, onions, garlic, assorted spices such as cumin, coriander, chiles, saffron, turmeric, whatever you have on hand that you love.

How to Steam Quinoa:
(method thanks to Ellen King)
  • Rinse the quinoa, then put it in a pot (if you buy "pre-rinsed quinoa you can skip the rinsing step)
  • Top the quinoa with 1 1/3 the amount of water as quinoa (ie. 1 C. quinoa, 1 1/3 C. water).  Salt.
  • Bring to a boil. Boil for about 3 minutes. 
  • Cover the pot, turn off the heat and let steam for about 20 minutes.
  • The quinoa is ready to use, no draining needed.

Cook a whole box.  Eat what you need and then make quart ziploc bags of the remaining and freeze.  Remember it is there, and then take it out and use as an accompaniment to stews, mix in for soups, use in a stirfry, the list goes on...

We made Quinoa Cakes, adapted from a wonderful nutritional vegetarian blog, 101 Cookbooks.
These are really tasty, satisfying vegetarians and carnivores alike (they make people think they are crab cakes).  In class, we cooked them up, made a simple marinara sauce with sauteed eggplant, then grated smoked mozzarella cheese for the top.  We did learn that it is best to saute them right before eating, they do not heat up well (texture suffers).  Once they are in patties, you can keep them in the fridge until saute time, or put them in the freezer for a future quinoa meal.  Just take them out to defrost the morning you plan to serve them.


Then we made a delicious composed quinoa salad with chicken, dried cranberries, cumin, lime juice carrots and greens. 


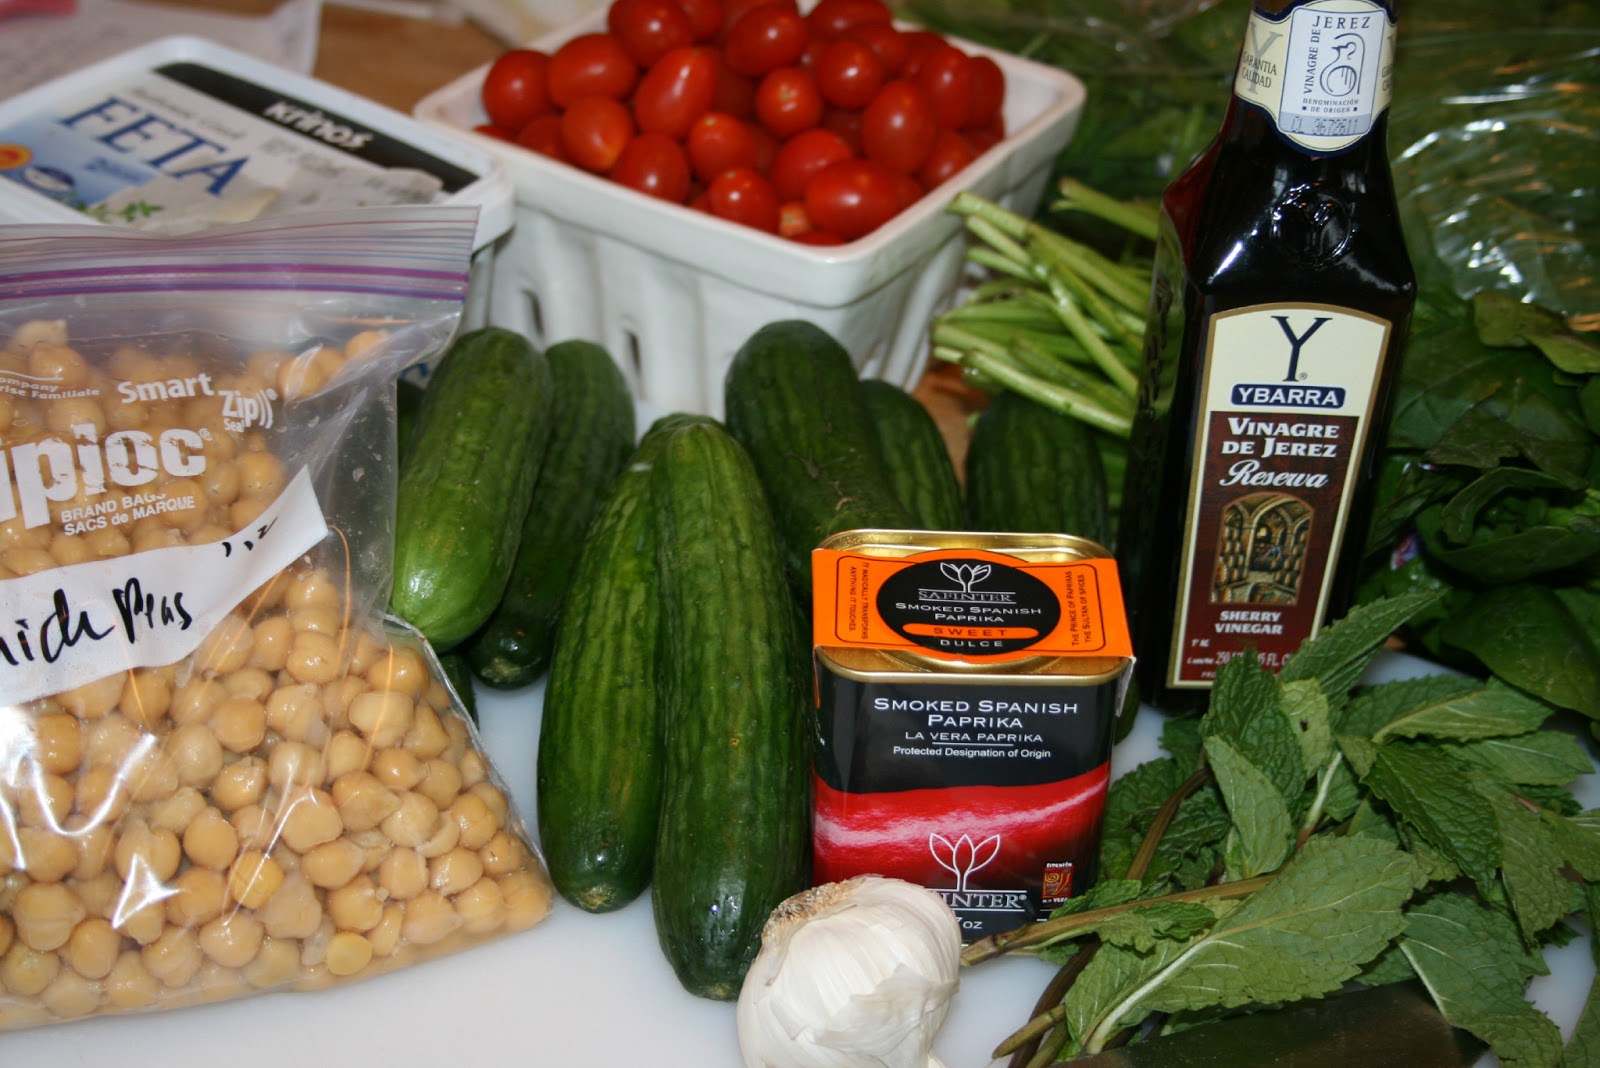
And another yummy quinoa salad with cucumbers, chickpeas, spinach, mint, feta and a smoked paprika dressing.  I had never used smoked paprika.  It is such a lovely and rich spice (available at the Evanston Spice House). Quinoa is so versatile.


Follow Me on Pinterest

October 02, 2012

in the garden...canning tomatoes


Last week, with the help of Laura Bougher of The Glass Rooster, we canned 24 quarts of tomatoes fresh from the YWCA's Urban Garden (supplemented by some beefsteak tomatoes from Ed, the generous farmer from Gast Farms-great sausages-at the Evanston Farmer's market).

Laura is a fantastic teacher, demystifying the process, making you feel equipped to tackle it on your own.  Actually, I have gathered some neighbors and we are putting up our own tomatoes tomorrow afternoon.  Fresh garden grown tomatoes, ready to pop into winter stews and soups, I am so excited.

Here is my summary of the canning process:

Clean your jars, wide mouth quart jars are great for tomatoes.  Either sterilize in boiling water, or put through your dishwasher on the sanitizing wash.

Fill your canner half full with water and start boiling (this part is very easy to underestimate and you can be watching a pot for a long time).  Place your cleaned tops and lids in boiling water to sterilize.

Prepare your tomatoes by cleaning them and then blanching them to remove their skins.  Get another big pot of boiling water, and a big bowl of ice water ready.  When the water is boiling, drop the tomatoes into the water for less than a minute, you just want the skins to loosen or crack a bit.  Then, scoop them out with a slotted spoon and put immediately into the ice water.  You should be able to peel the skins right off.

At this point, you can either leave the tomatoes whole, or halve or quarter the tomatoes.  I prefer mine quartered as since you are going through all the mess now, better to have them ready to pop in stews and soups later.  Once quartered, pop them into a stainless steel saucepan and bring to a boil over medium high heat.  Using a masher, mash some to get a good amount of juices.  Let them boil gently for 5 minutes.

If your tomatoes are ripe, you should use citric acid (a natural preservative) or bottled lemon juice to ensure their acidity level is safe for canning preservation. The bacteria that can produce botulism thrives on low-acid foods in an airless environment.  Tomatoes sit on the borderline of low and high acid foods, so adding acidification will make them safe.   For a quart of tomatoes, use 1/2 tsp of citric acid or 2 Tbl. of lemon juice, either works, depends on your personal taste.  Put the acidic ingredient in the jar before adding the tomatoes.

Using a canning funnel (wide enough to allow solids to pass through), fill your clean sterilized cans with your peeled and chopped tomatoes, leaving a 1/2 inch head space.  Using a butter knife or a chop stick, poke around in the can to eliminate any air bubbles,  topping off with tomato liquid to fill.  Clean the jar rims with a damp cloth.  Place a sterile lid on the jar and then screw on a band until it just gives but not too tight (finger tip tight).

Place the sealed jars in the canning rack and then slowly lower into the boiling water (letting the jars acclimate to the hot water temperature).  The cans should be covered by about an inch.  Bring the water back to a boil, cover, and continue boiling for 45 minutes for tomatoes.  Remove the pot lid, wait about 5 minutes, then remove the cans, let cool on dishtowels.

Once the jars have cooled (about 8 hours), check the lids: if it is concave and does not give when you press it, it is sealed.  You should have heard the cans popping as they sealed.  Wipe clean the jars and rims and store.


Follow Me on Pinterest
Related Posts Plugin for WordPress, Blogger...